How to create a Copilot agent
An article on the CTE blog explains how Copilot agents work and how educators are using them. This article explains how to create a Copilot agent, which is a customized version of the Copilot chatbot.
Agents require no coding, but they do require you to provide specific instructions in how you want the agent to act, what materials you want it to draw on, and how you want it to respond. Essentially, you provide an extended prompt and, if you want, examples and websites to draw on.
Microsoft provides five templates for Copilot agents: a writing coach, a career coach, an idea coach, a learning coach, and a prompt coach. These are good starting points for your own agent. Keep in mind, though, that Microsoft says agents can “help you meet the unique business needs of your users.” That means your instructions to a Copilot agent may need to reframe results toward academic work. Creating an agent isn't difficult, but it requires experimentation and iteration.
Copilot Agent Tutorial
Follow along with CTE's Doug Ward and learn how to create a Microsoft Copilot agent using your KU account.
Getting started
To create a Copilot agent, go to the web version of Copilot and log in with your KU credentials. Using your KU credentials is important because doing so will provide additional privacy protection that you don’t get in a personal account. That includes a promise that Copilot won’t use your prompts or materials for training of large language models. Essentially, it keeps your data in the same protected space as your Outlook and OneDrive accounts.
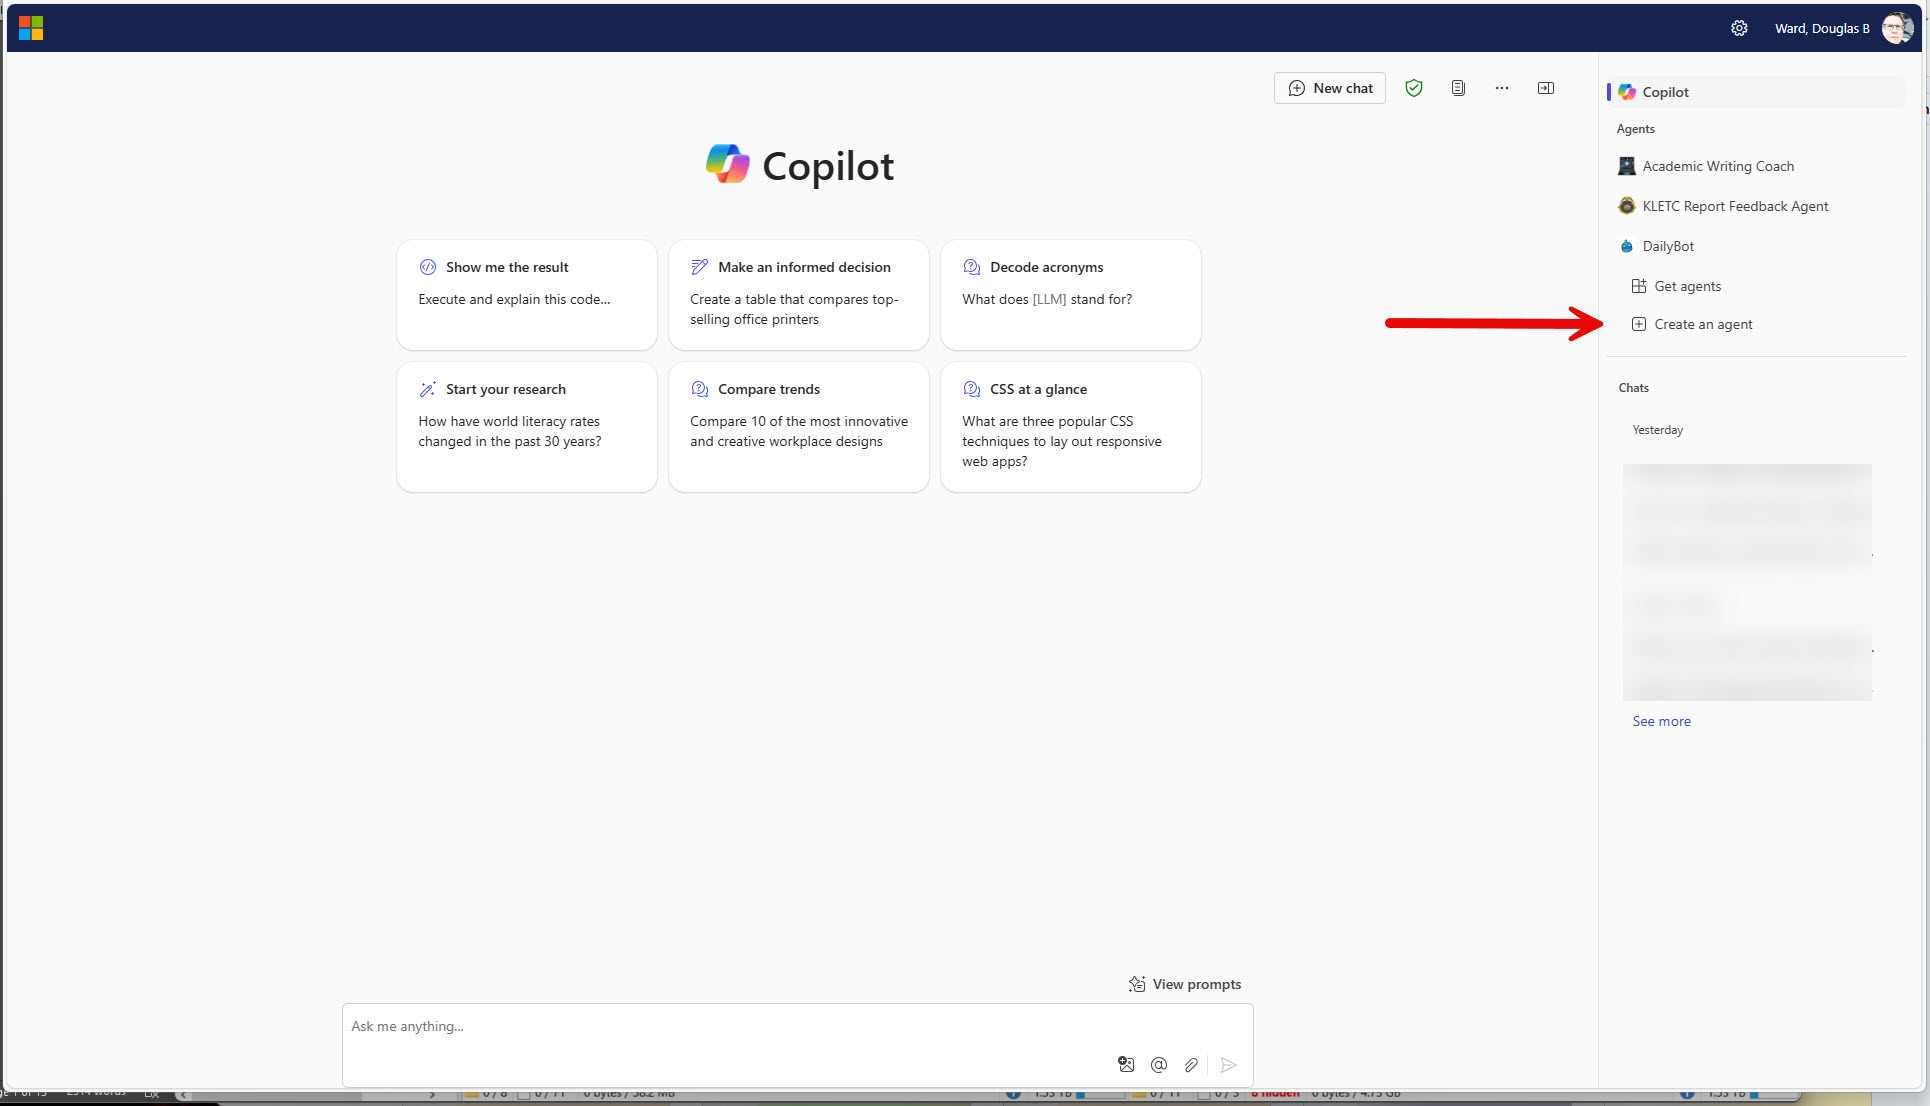
Once logged in, you should see a column called Agents on the right side of the Copilot page (see below). Click on Create an agent. If you don't see the Agents functions, try refreshing your browser.
Working with Copilot Studio
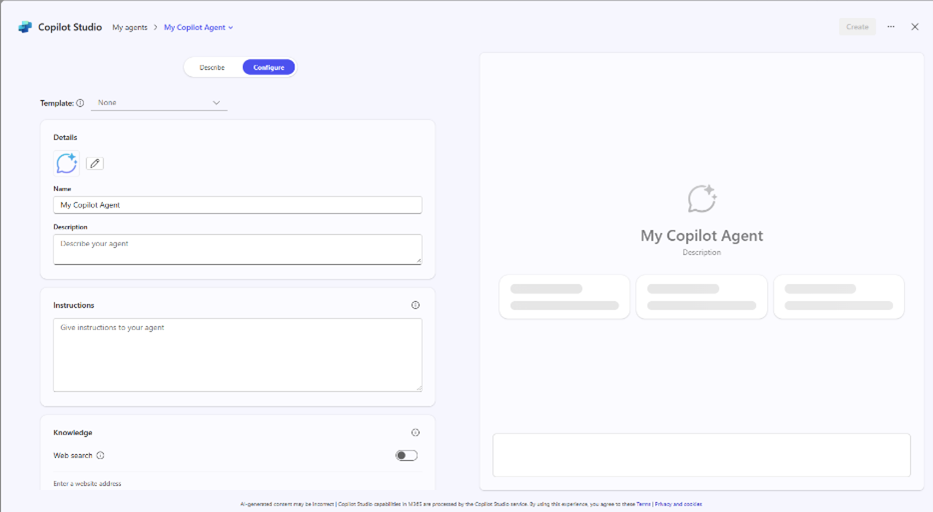
Clicking on Create an agent will bring up a pop-up window with Copilot Studio (see below), a tool that allows you to customize Copilot. Toward the top are buttons for Describe and Configure. Click on Configure.
Giving your agent instructions
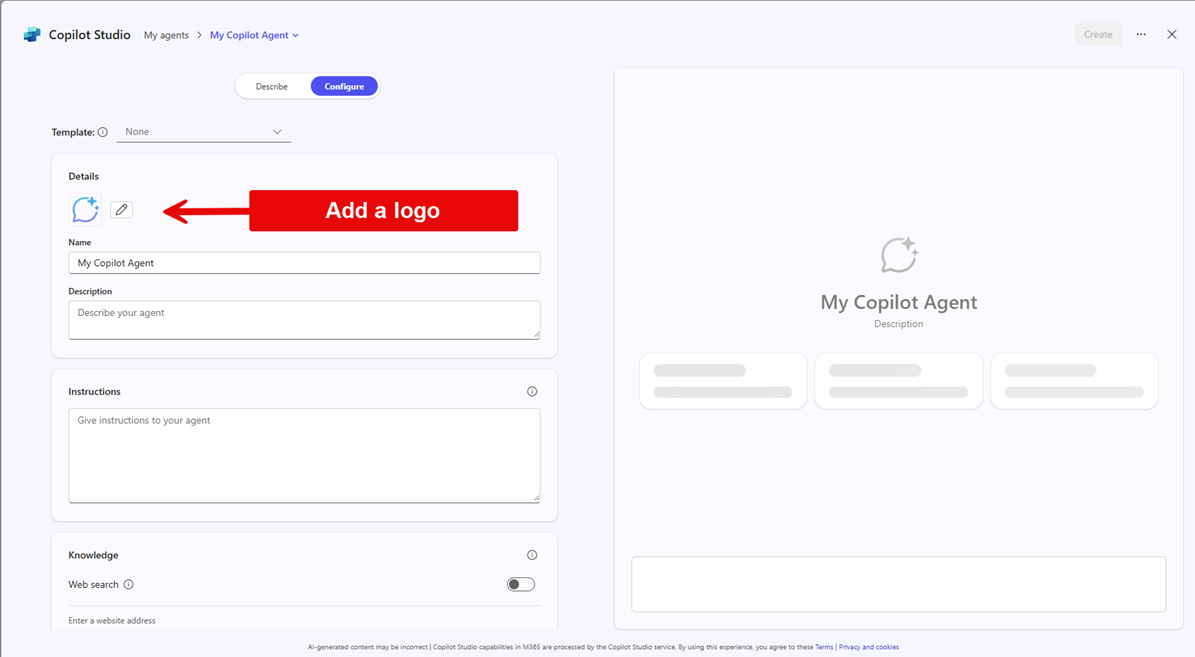
You are now in the area where you can give your agent a name and a description.
Below that is an area for providing instructions for your Copilot agent. This is the heart (or brain) of your agent. Think of the instructions as an extended prompt that guides your agent in the tasks you want it to complete. Microsoft suggests that the instructions explain the role you want your agent to take, the guidelines you want it to follow (tone of responses, for instance, any restrictions you want to give it, and the broad instructions you want it to follow.
After those instructions, you should provide the steps you want your Copilot to follow or the approach you want it to use. The steps should break down the process you want your agent to follow in creating a response. (See the example below.) You can also list a set of skills you want the Copilot to draw on in different circumstances. For example, Microsoft's writing assistant provides different instructions for writing a story, creating instructions, or translating writing.
You should number each of those skills or tasks and put double asterisks on each side to help distinguish each area from the rest of the text.
Here's an example of instructions for a Copilot agent for helping faculty with issues in teaching. This is just a draft and would follow a paragraph or two of general instructions.
**1. Clarify the context**
- Analyze the instructor's question and, if needed, suggest ways of rephrasing or reframing it so that you can provide better responses.
- If the instructor doesn’t provide it, ask what discipline they are working in, and whether the class is for undergraduates or graduate students.
- If the class is for undergraduates, make sure you know the following:
- The skill level of students (for instance: freshmen, seniors, majors, non-majors, capstone, 100-level)
- The format of the class (for instance: in person, online, hybrid, lab, fieldwork, discussion or recitation section, large lecture, seminar)
- The number of students
- Any other information that would help you provide a meaningful and knowledgeable answer
- If the class is for undergraduates, make sure you know the following:
- Ask whether the instructor is working alone or has a co-instructor or the assistance of graduate teaching assistants or undergraduate assistants.
**2. Analyze the problem**
- Pause and think.
- Once you are sure you have the information you need, begin an analysis.
- Search for appropriate scholarly literature to back up your response.
- Also check the websites of university teaching centers and other reputable sources.
**3. Provide your response**
- Explain the context of your answer.
- What areas of teaching and learning theory are you focusing on?
- What elements of demographics or research into students have you drawn on?
- Break your recommendations into bulleted steps, with each section providing enough context and elaboration that the user will gain at least a basic understanding.
- Offer to follow up with additional information or elaboration on any part of your response.
- Suggest sources the instructor might consult for deeper understanding of the topic or question.
Once you are satisfied with the instructions, click Create in the upper right corner. The new agent should now show up in the Agents listing on the main Copilot page.
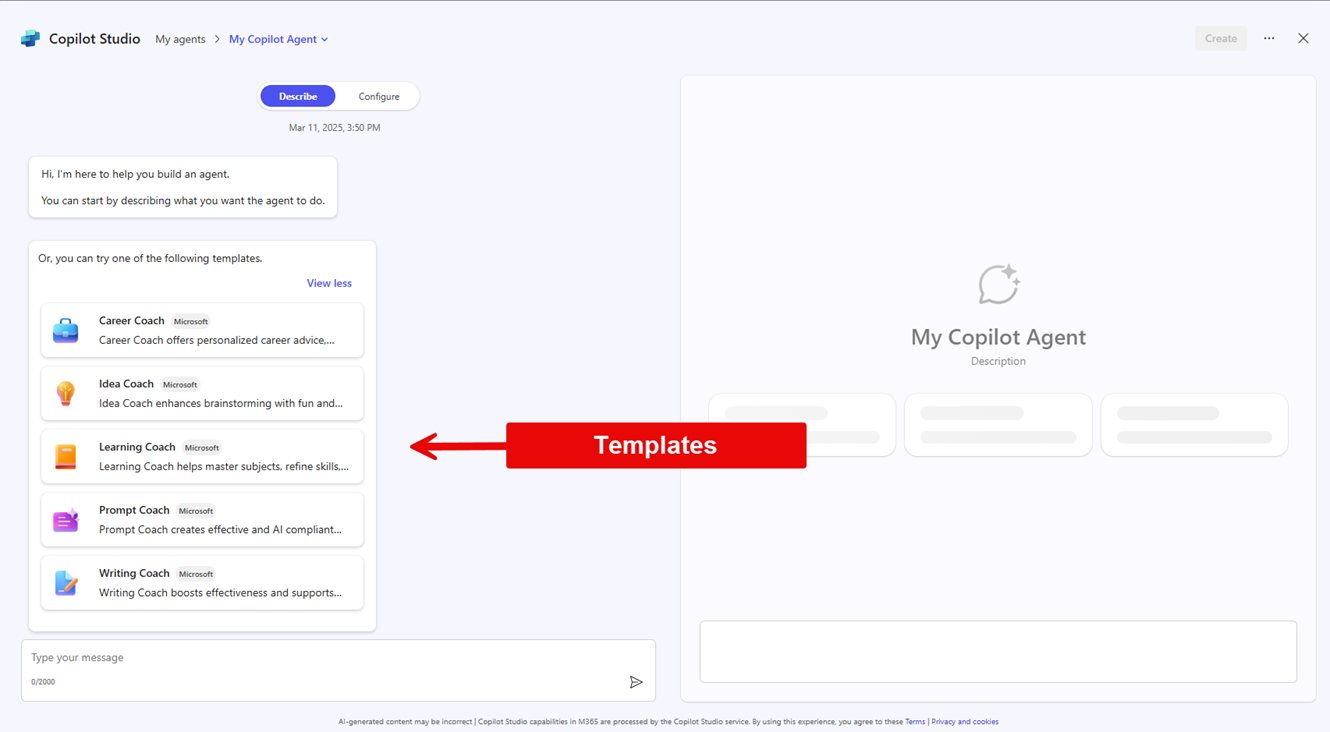
Getting ideas from templates
The templates (above) that Microsoft provides for Copilot agents can be a good starting point for your own agent. More importantly, they provide examples of how to format instructions. Just open the template and click on Configure to see the instructions (as in the example below). Microsoft provides additional suggestions for Copilot instructions on its website.

Revising instructions
Creating the right instructions for your agent will take some experimenting. Revising the instructions is easy, but finding your way back to the instructions page requires some odd steps.
To revise the instructions for your agent, Click on Create an agent on the Copilot home screen, just as you did when you began work on your agent. In the Copilot Studio pop-up (below), click on My agents in the upper left.
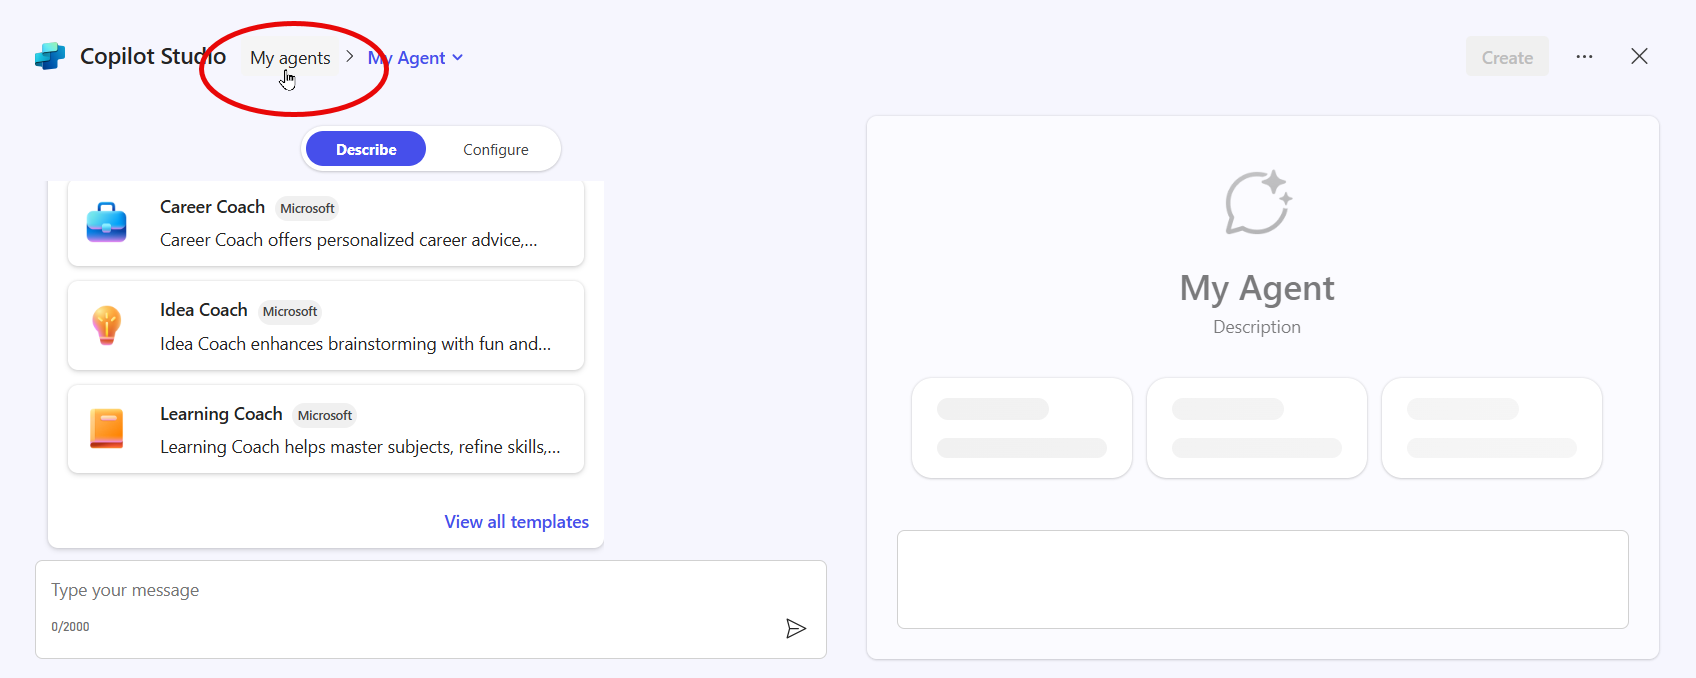
That will take you to a screen like the one below.
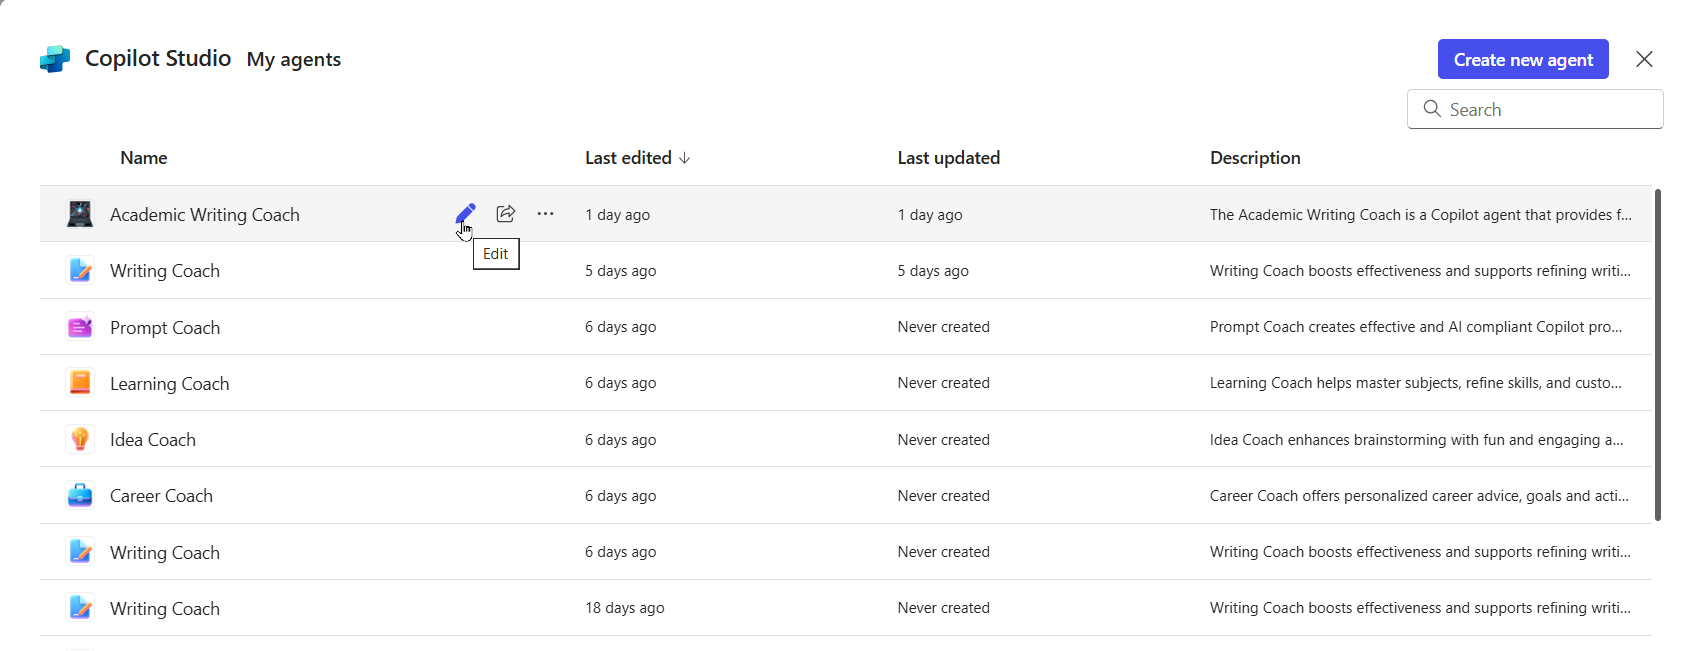
Click on the pencil icon next to your agent's name. That will take you to the screen with the instructions you gave the agent. Once there, you can make any revisions you would like.
Adding a reference site
If you want your Copilot to reference specific websites, you can add a URL on the Copilot Studio screen. Just scroll down to the Knowledge area and activate the toggle switch next to Web search (above) Once you have done that, you can paste the URLs of websites you want your agents to check.
Using a reference site will take additional experimentation and instructions to the agent on how you want it to use a website.
Adding starter prompts
At the bottom of the studio screen is an area for adding custom prompts for your agent. If you have given the agent clear instructions, you shouldn't need too much of a prompt. Custom prompts, though, can save you from retyping the same prompts each time you use your agent. They can also signal to users the types of functions the agent can perform.

Sharing your Copilot
Copilot agents you have created will show up on your Copilot home screen. Those will be available only to you unless you choose to share them via a URL.
The first time you save the instructions for your agent, Copilot Studio will ask whether you want to create a shareable link. If you don't, just cancel out of that window. If you do, copy the URL. You can also get a link by returning to the My agents list and clicking on the link button of the agent you want to share (see above). A box with a URL will pop up.
Before you share a URL, make sure you have tested your Copilot agent and are satisfied that it will do what you expect it to do. It's also a good idea to ask users to tell you about any problems they have with the agent. That way you can make adjustments to it.